Darkroom & Printing · Tool 08
Zoom Level When Changing the Format
About this calculator
A small test print is fine; the larger print will follow—and the time setting you’ve been using no longer works. This calculator provides you with a well-founded starting value for the new magnification. You can also factor in a different working aperture right away.
You have two options: use the actual projected image width or the distance between the lens and the paper. The margins of the paper are not part of the image width. It is precisely this distinction that helps you avoid some avoidable surprises when converting.
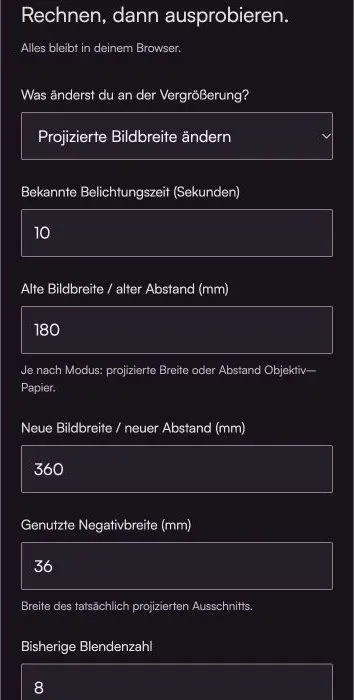
Do the math, then give it a try.
Everything stays in your browser.The calculator is loading …
Your result
100% / Select "Actual Size." Turn off headers and footers. Then check the 100-mm distance with a ruler.
How to Use the Calculator
- Enter the proven exposure time and the old and new image widths, or the lens-to-paper distance. All lengths are in millimeters.
- In image-width mode, you also need the effective negative width—that is, the portion that is actually projected.
- Enter the old and new f-numbers. Start with the result for the new format and confirm it with a test strip.
What's Behind the Bill
Image Width Mode: Time Factor = ((M₂ + 1) / (M₁ + 1))² × (Aperture₂ / Aperture₁)²
M stands for the projected image width divided by the effective negative width. The factor of one in the thin-lens model accounts for the fact that refocusing also changes the object distance. At high magnifications, the result approaches the well-known formula involving the square of the aspect ratio.
If you measure the actual distance from the lens plane to the paper plane, the square of the distance ratio is used directly. The scale on the magnifier column is not automatically suitable for this purpose.
All other conditions must remain comparable: light source, filtering, paper, and processing. Lamp drift, stray light, and the behavior of the paper during long exposures are not modeled. The calculation therefore does not replace the test print; rather, it takes it to a more meaningful level.
An example to work through
If the distance between the lens and the paper remains the same and the aperture changes from f/8 to f/16, the exposure time quadruples: 10 seconds becomes 40 seconds. Even doubling the actual distance results in a factor of 4 when the aperture remains the same.
Here's what you should keep in mind
- If the negative crop is changed, the same underlying crop must be used in image-width mode.
- The model calculation does not guarantee that the paper density will be identical.
Frequently Asked Questions (FAQ)
For a larger print, can I simply double the exposure time?
Not generally. The required change depends on the magnification factor or the actual distance between the lens and the paper. If you double this distance while keeping the aperture constant, the time in the model becomes four times as long. A doubled image width is calculated in image-width mode using the finite magnification ratio and does not yield exactly the same factor.
Should I enter the paper width or the actual projected image width?
Use the actual projected image width, excluding the white margins of the paper. The negative width used must correspond to the same section of the image. If you change the crop, the paper size alone is not a sufficient basis for the conversion.
How do I account for a change in aperture on the enlarger?
Enter the current and new aperture values. The calculator multiplies the geometric factor by the square of their ratio. Changing from f/8 to f/16—assuming all other settings remain the same—takes four times as long; for example, 40 seconds instead of 10.
Do I need a new test strip even though the extension time has been calculated?
Yes. The exposure time is a starting point for the same lamp, filter, paper type, and processing. Lamp behavior, stray light, and the paper’s behavior during long exposures may vary. Therefore, verify the new print by making a test strip at a representative part of the image.
Read More & Sources
If you'd like to learn more about the basics, you'll find helpful explanations here.