Darkroom & Printing · Tool 09
F-Stop Test Strip Generator
About this calculator
On paper, equal time intervals do not look like equal exposure steps. An f-stop test strip therefore uses ratios: Each step increases the amount of light by the same fraction of a f-stop.
Here you can set up a rough sequence in whole f-stops or a finer gradation. The calculator displays total exposures and additional partial exposures separately. This is important to me because the two columns correspond to different ways of working on the enlarger.
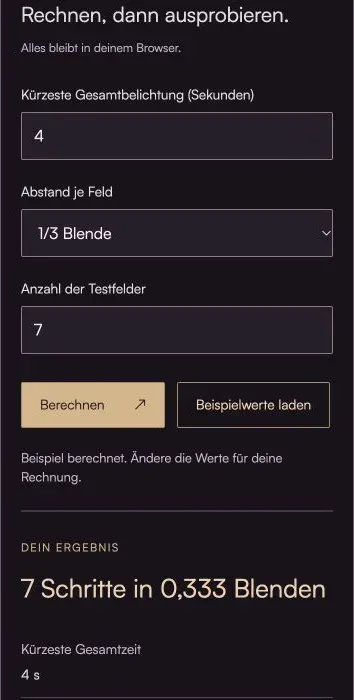
Do the math, then give it a try.
Everything stays in your browser.The calculator is loading …
Your result
100% / Select "Actual Size." Turn off headers and footers. Then check the 100-mm distance with a ruler.
How to Use the Calculator
- Select the shortest total exposure time, the distance in f-stops, and the number of fields.
- For individually exposed fields, use the total time for each row.
- When covering the fields step by step, first expose all fields to the first time value. Then cover the shortest field and apply only the next additional time value to the fields that are still exposed. Continue in this manner.
What's Behind the Bill
Total time for field k = start time × 2^((k − 1) × aperture step)
One full stop doubles the exposure. Half a stop corresponds to the square root of two, and one-third of a stop corresponds to approximately 1.26. This keeps the relative difference between adjacent fields constant.
The additional exposure times are the differences between consecutive total exposure times. If you accidentally add the total exposure times together while covering the film, the strip will be exposed much more than intended. The first additional exposure time is also the base exposure for all fields.
The exposure is only rounded when you set the timer. With some timers and lights, it can be difficult to reproduce small increments for very short exposure times. In such cases, a longer base exposure time or a smaller aperture may be more practical. It depends on your setup.
The small gray areas are only meant to help you determine the order. They do not simulate paper gradation and do not predict how your negative will look on a specific type of paper.
An example to work through
With a start time of 4 seconds, whole f-stops, and four fields, the total times are 4, 8, 16, and 32 seconds. When covering, the times are 4, 4, 8, and 16 seconds, in that order.
Here's what you should keep in mind
- Compare the same area in the image, especially when different test fields show different image content.
- Lamp warm-up time, timer accuracy, and paper reciprocity are not corrected.
Frequently Asked Questions (FAQ)
Why aren't F-Stop test strips arranged at equal intervals in seconds?
Equal aperture values result in equal exposure ratios. A full stop doubles the exposure time, while a half stop multiplies it by approximately 1.414. In contrast, equal increments in seconds result in relative changes in exposure that vary depending on the initial exposure time.
Which column should I use when covering the test strip in stages?
Use the additional exposure times. First, expose the entire strip using the first exposure time. Then mask off the shortest section and apply only the next additional exposure time to the remaining sections. For total exposure times of 4, 8, 16, and 32 seconds, the exposure times applied sequentially are 4, 4, 8, and 16 seconds.
What exposure times apply to individually exposed test fields?
The total exposure time applies to each individually exposed field. All other fields are covered in the process. Unlike the additive method, the field does not accumulate partial exposures beforehand. Therefore, do not confuse the “Total Exposure” and “Additional Starting from This Step” columns.
What is a reasonable increment, and when can I round off times?
Larger increments are best for getting a rough overview; smaller increments are more helpful when you’re close to the correct exposure. There is no one-size-fits-all increment. Choose one that suits your negative, paper, and timer. Round only when setting the timer, so that rounded intermediate steps don’t add up to an incorrect total time.
Read More & Sources
If you'd like to learn more about the basics, you'll find helpful explanations here.